- This article is a guide for a Silent Hill: Shattered Memories puzzle.
The Shadow Puzzle is a puzzle Harry Mason can encounter in Silent Hill: Shattered Memories.
Harry can find the puzzle inside of the art studio on the second floor of Midwich High School, should he choose to enter the art studio instead of the planetarium. The puzzle consists of 6 objects left behind on a table. The objects cast specifically-shaped shadows when illuminated by Harry's flashlight, and manipulation of the objects change how the shadows appear. In order to leave the room and continue further into the school campus, Harry must decipher the hidden message left by the shadows in the abandoned art studio.
Solution[]
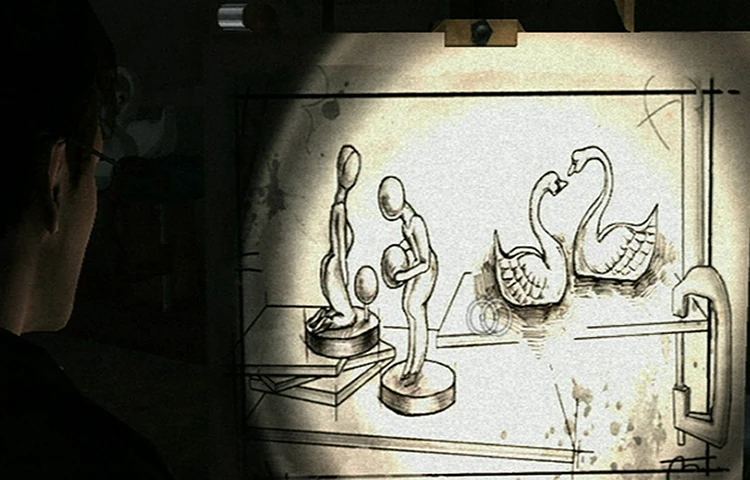
A sketch depicting the correct placement of the models.
The first noticeable clue to the puzzle's solution is a sketch found near the table of objects. The sketch depicts the five movable pieces of the set; two humanoid statues, two swans and a clamp with a bent pipe, and depicts their correct placement.
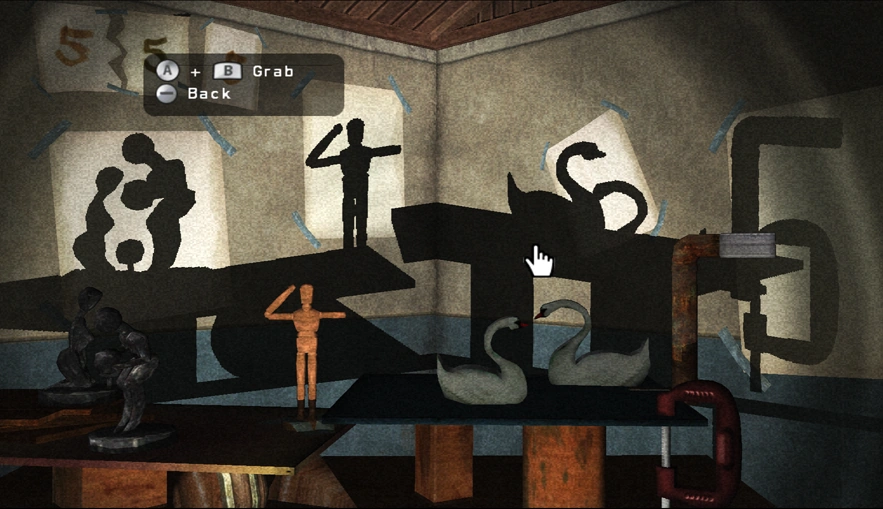
Interacting with the table allows Harry to manipulate the five movable objects in the set and brings into focus the back wall where the shadows of the objects are cast. Taped on the back wall are seven pieces of paper. The number "5" occupies the first three of these papers, signifying that a phone number will be the solution to the puzzle (ie: 5 5 5 - _ _ _ _).
Out of the six models on the table, one is immovable. This piece forms a shadow resembling the number "4" on the fifth piece of paper on the wall, adding to the final phone number (ie: 5 5 5 - _ 4 _ _).
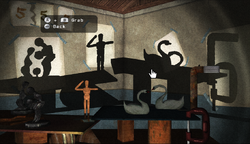
The final arrangement of figures.
By following the sketch mentioned previously and moving the objects as depicted, the remaining three numbers are revealed on the wall. The two humanoid statues brought closer together form the shadow in the shape of an "8" on the fourth piece of paper. The two swans, after switching places, form the shadow resembling a "6" on the sixth piece of paper. Finally, the clamp, although it cannot be moved, can be manipulated to form the last number. The clamp must be moved to the right as in the sketch, and the bend at the top must also be moved right. Doing so reveals a shadow in the shape of a "5" on the last piece of paper. After all this has been done, the numbers on the wall form the phone number: 5 5 5 - 8 4 6 5.
Calling the number through Harry's phone unlocks the door and allows Harry to exit the art studio. Depending on the player's Psych Profile, Harry can receive one of two answering voices on his phone. The first is a male voice who whispers "The door is open now". Harry may also hear a woman whisper "Door's open". After either message the door will make a loud clicking sound and the player may exit through it. Calling this number again ater the puzzle results in a busy signal and the caller ID on the phone will say "The Shadows".